Edit Data
Insert
To insert a new row:
- Right-click anywhere in the table view
- Click the “New row” button
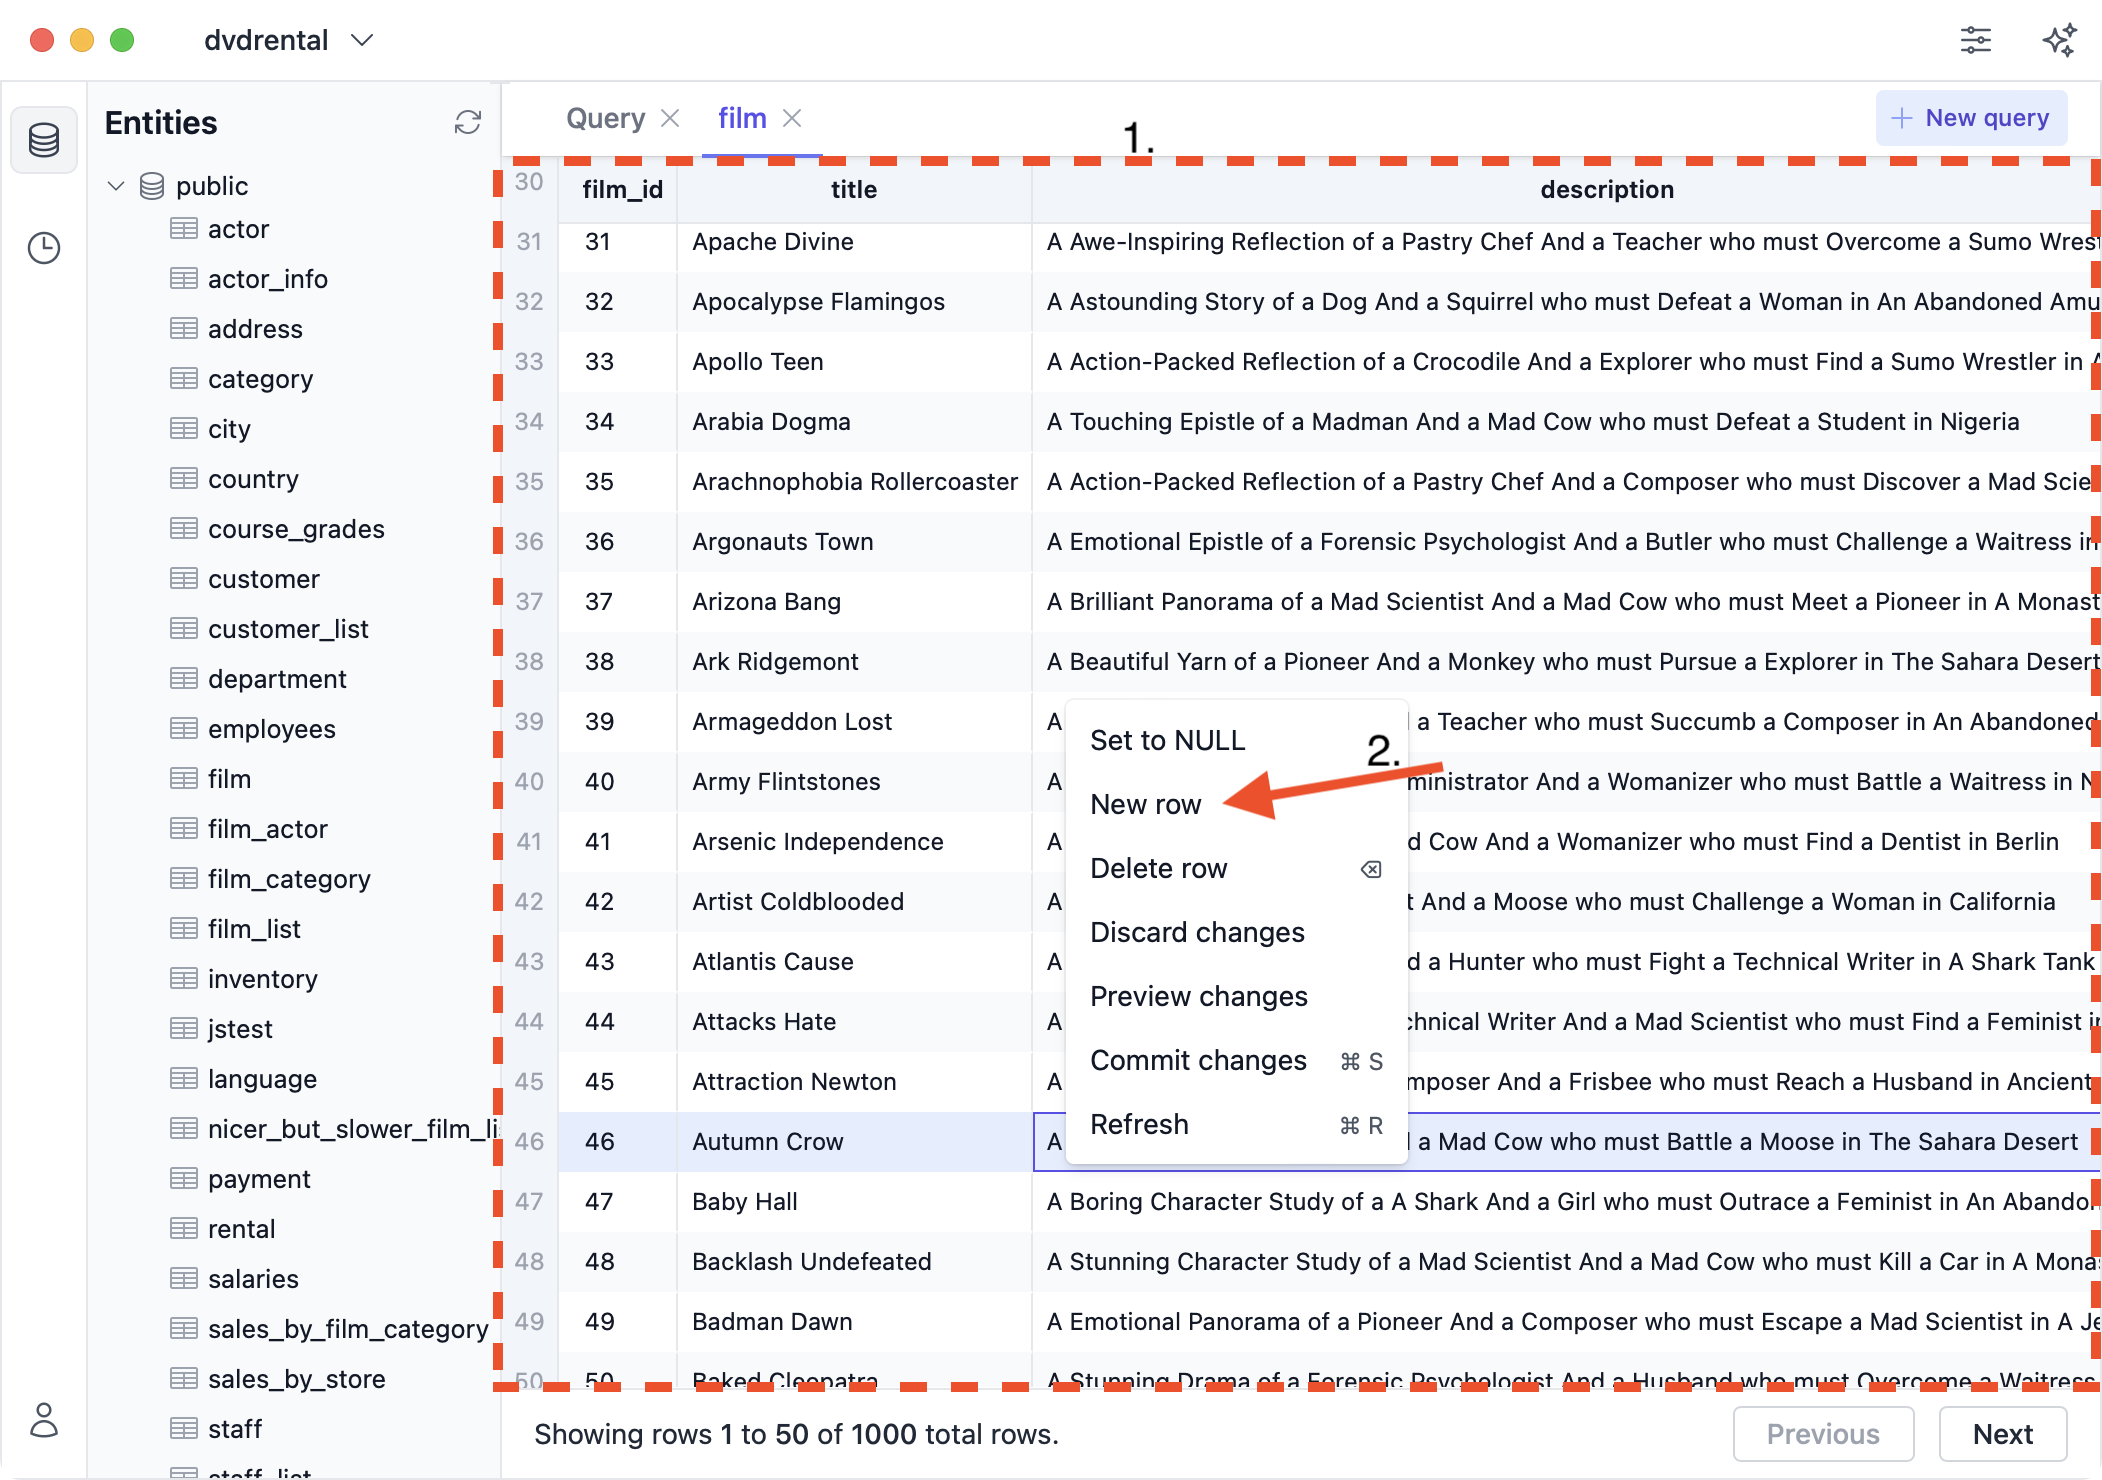
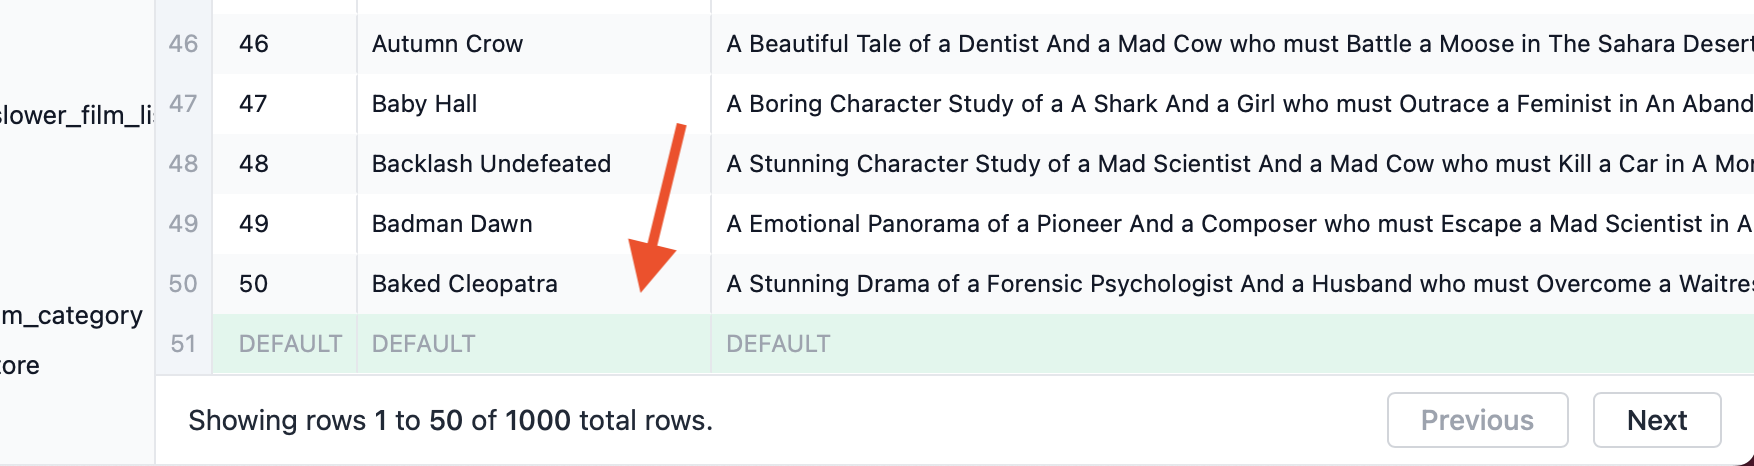
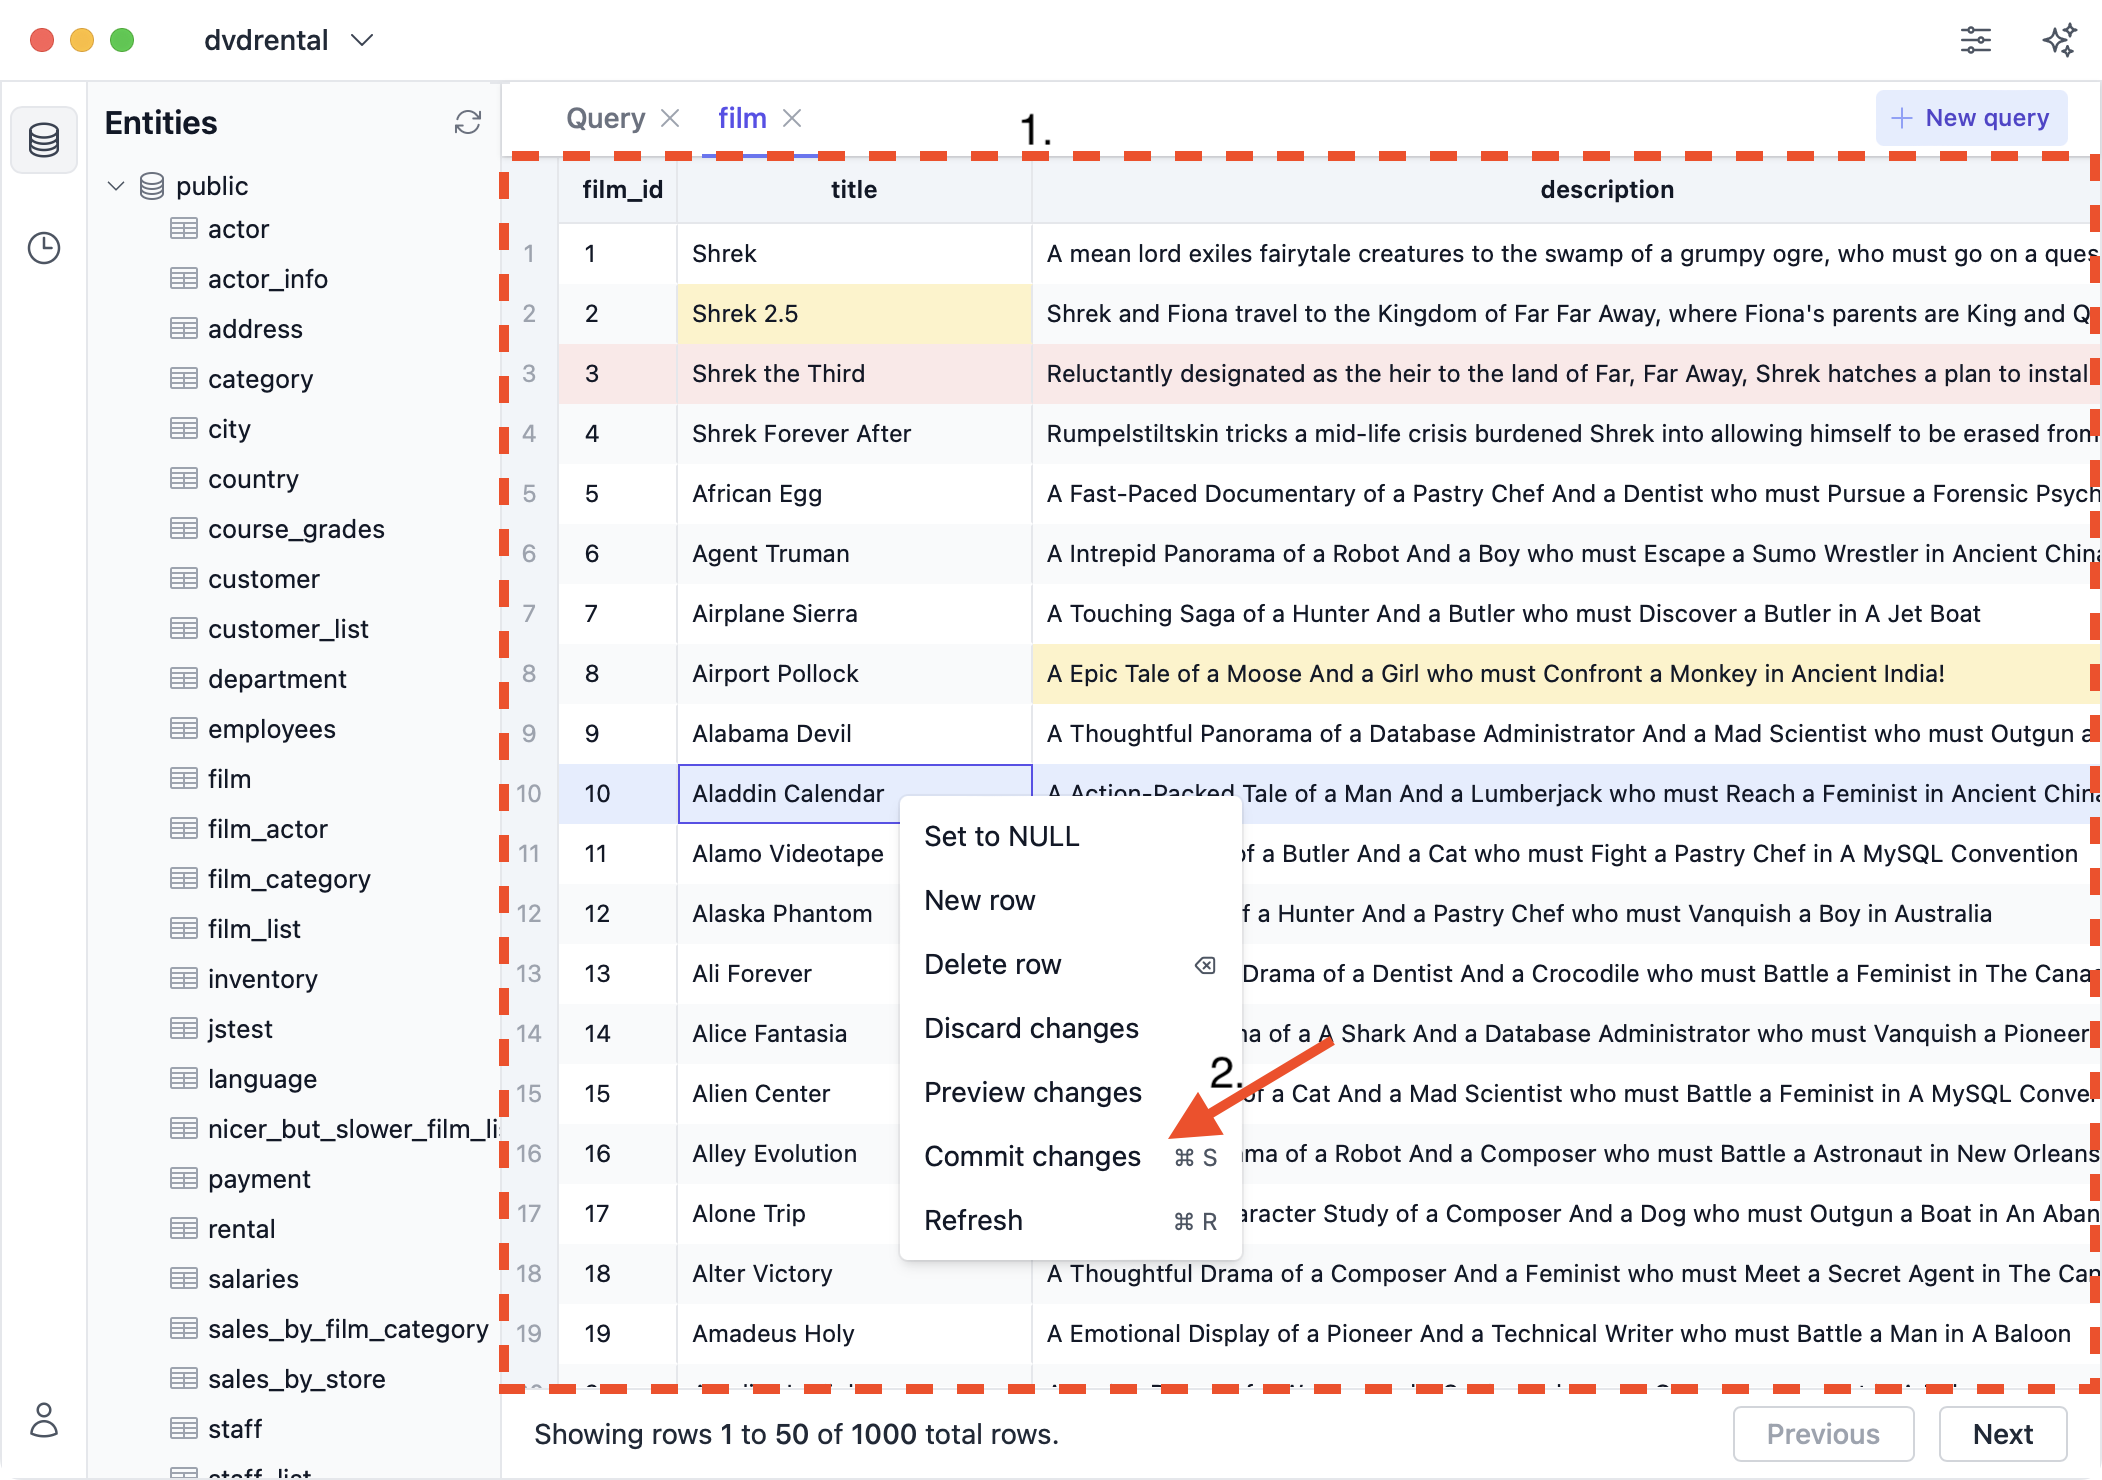
A new row then appears at the bottom. Double-click a column to enter value for it, or leave it blank to use the column’s default value. The new row will be highlighted in green while it is not committed.
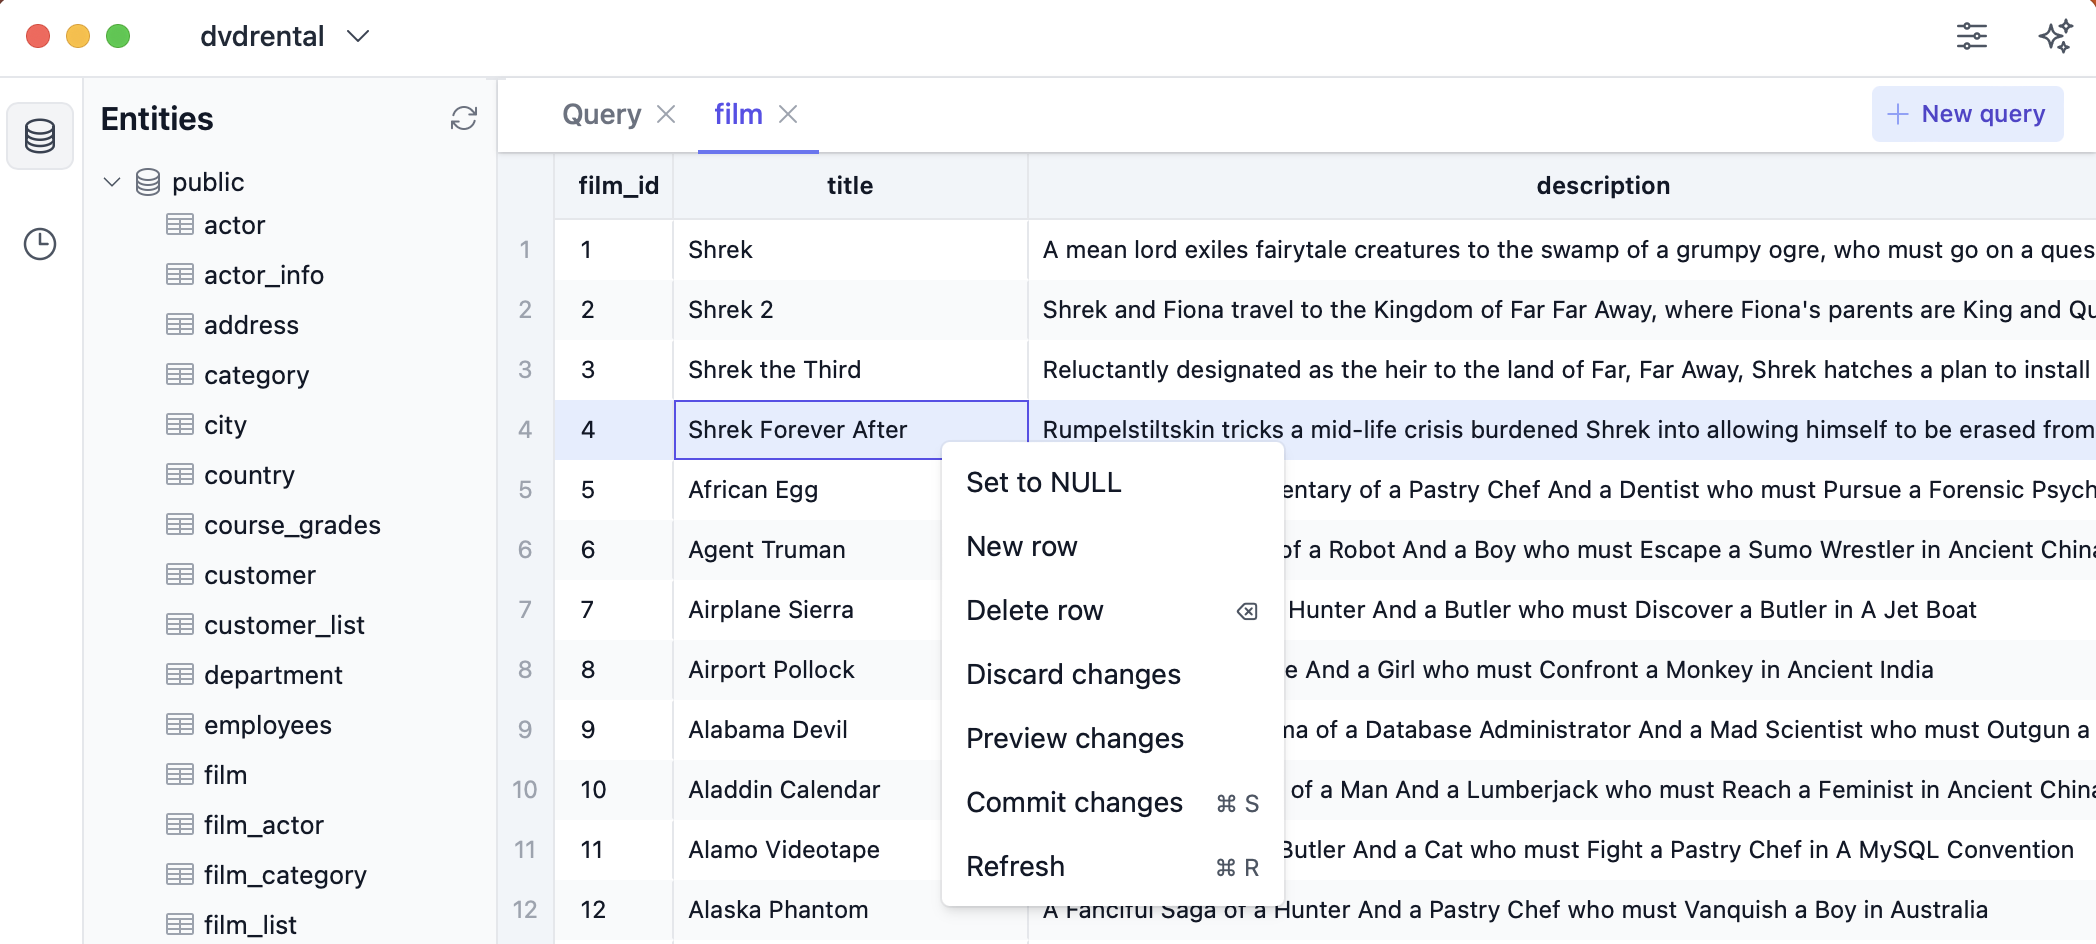
Update
To update a column’s value, double-click the column. This will reveal an input field where you can enter a new value:
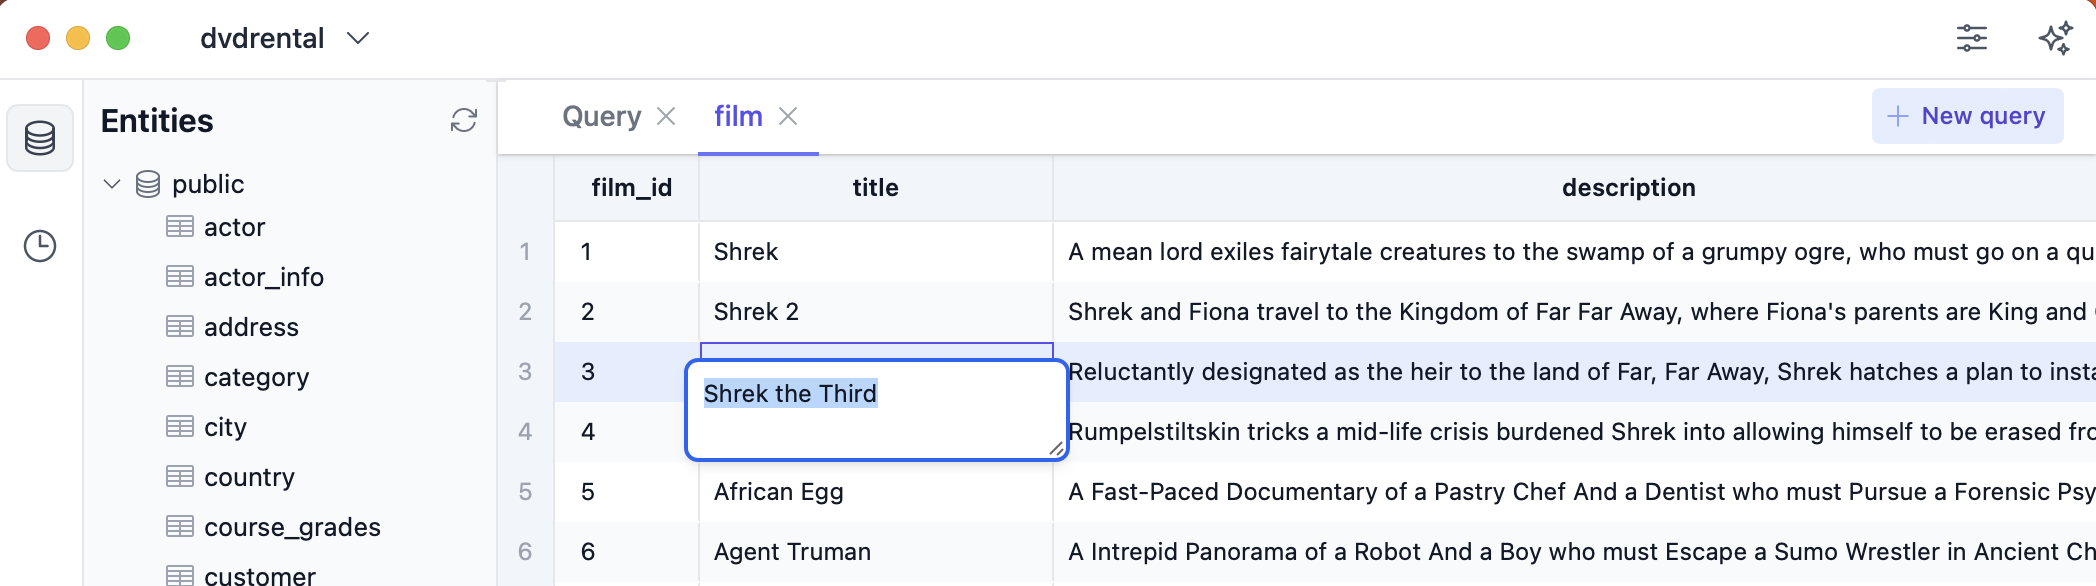
Columns with uncommitted changes are highlighted in yellow:
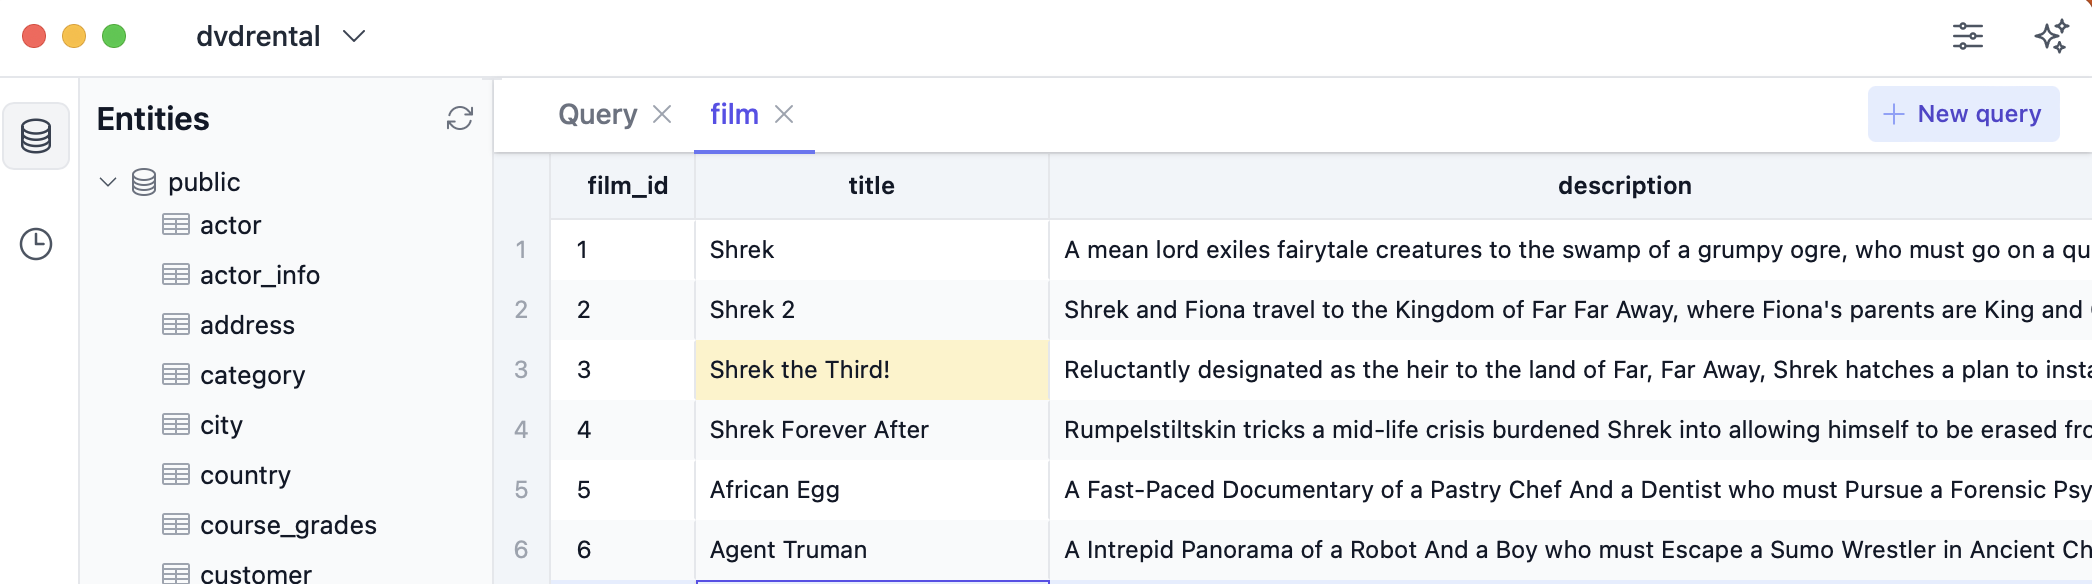
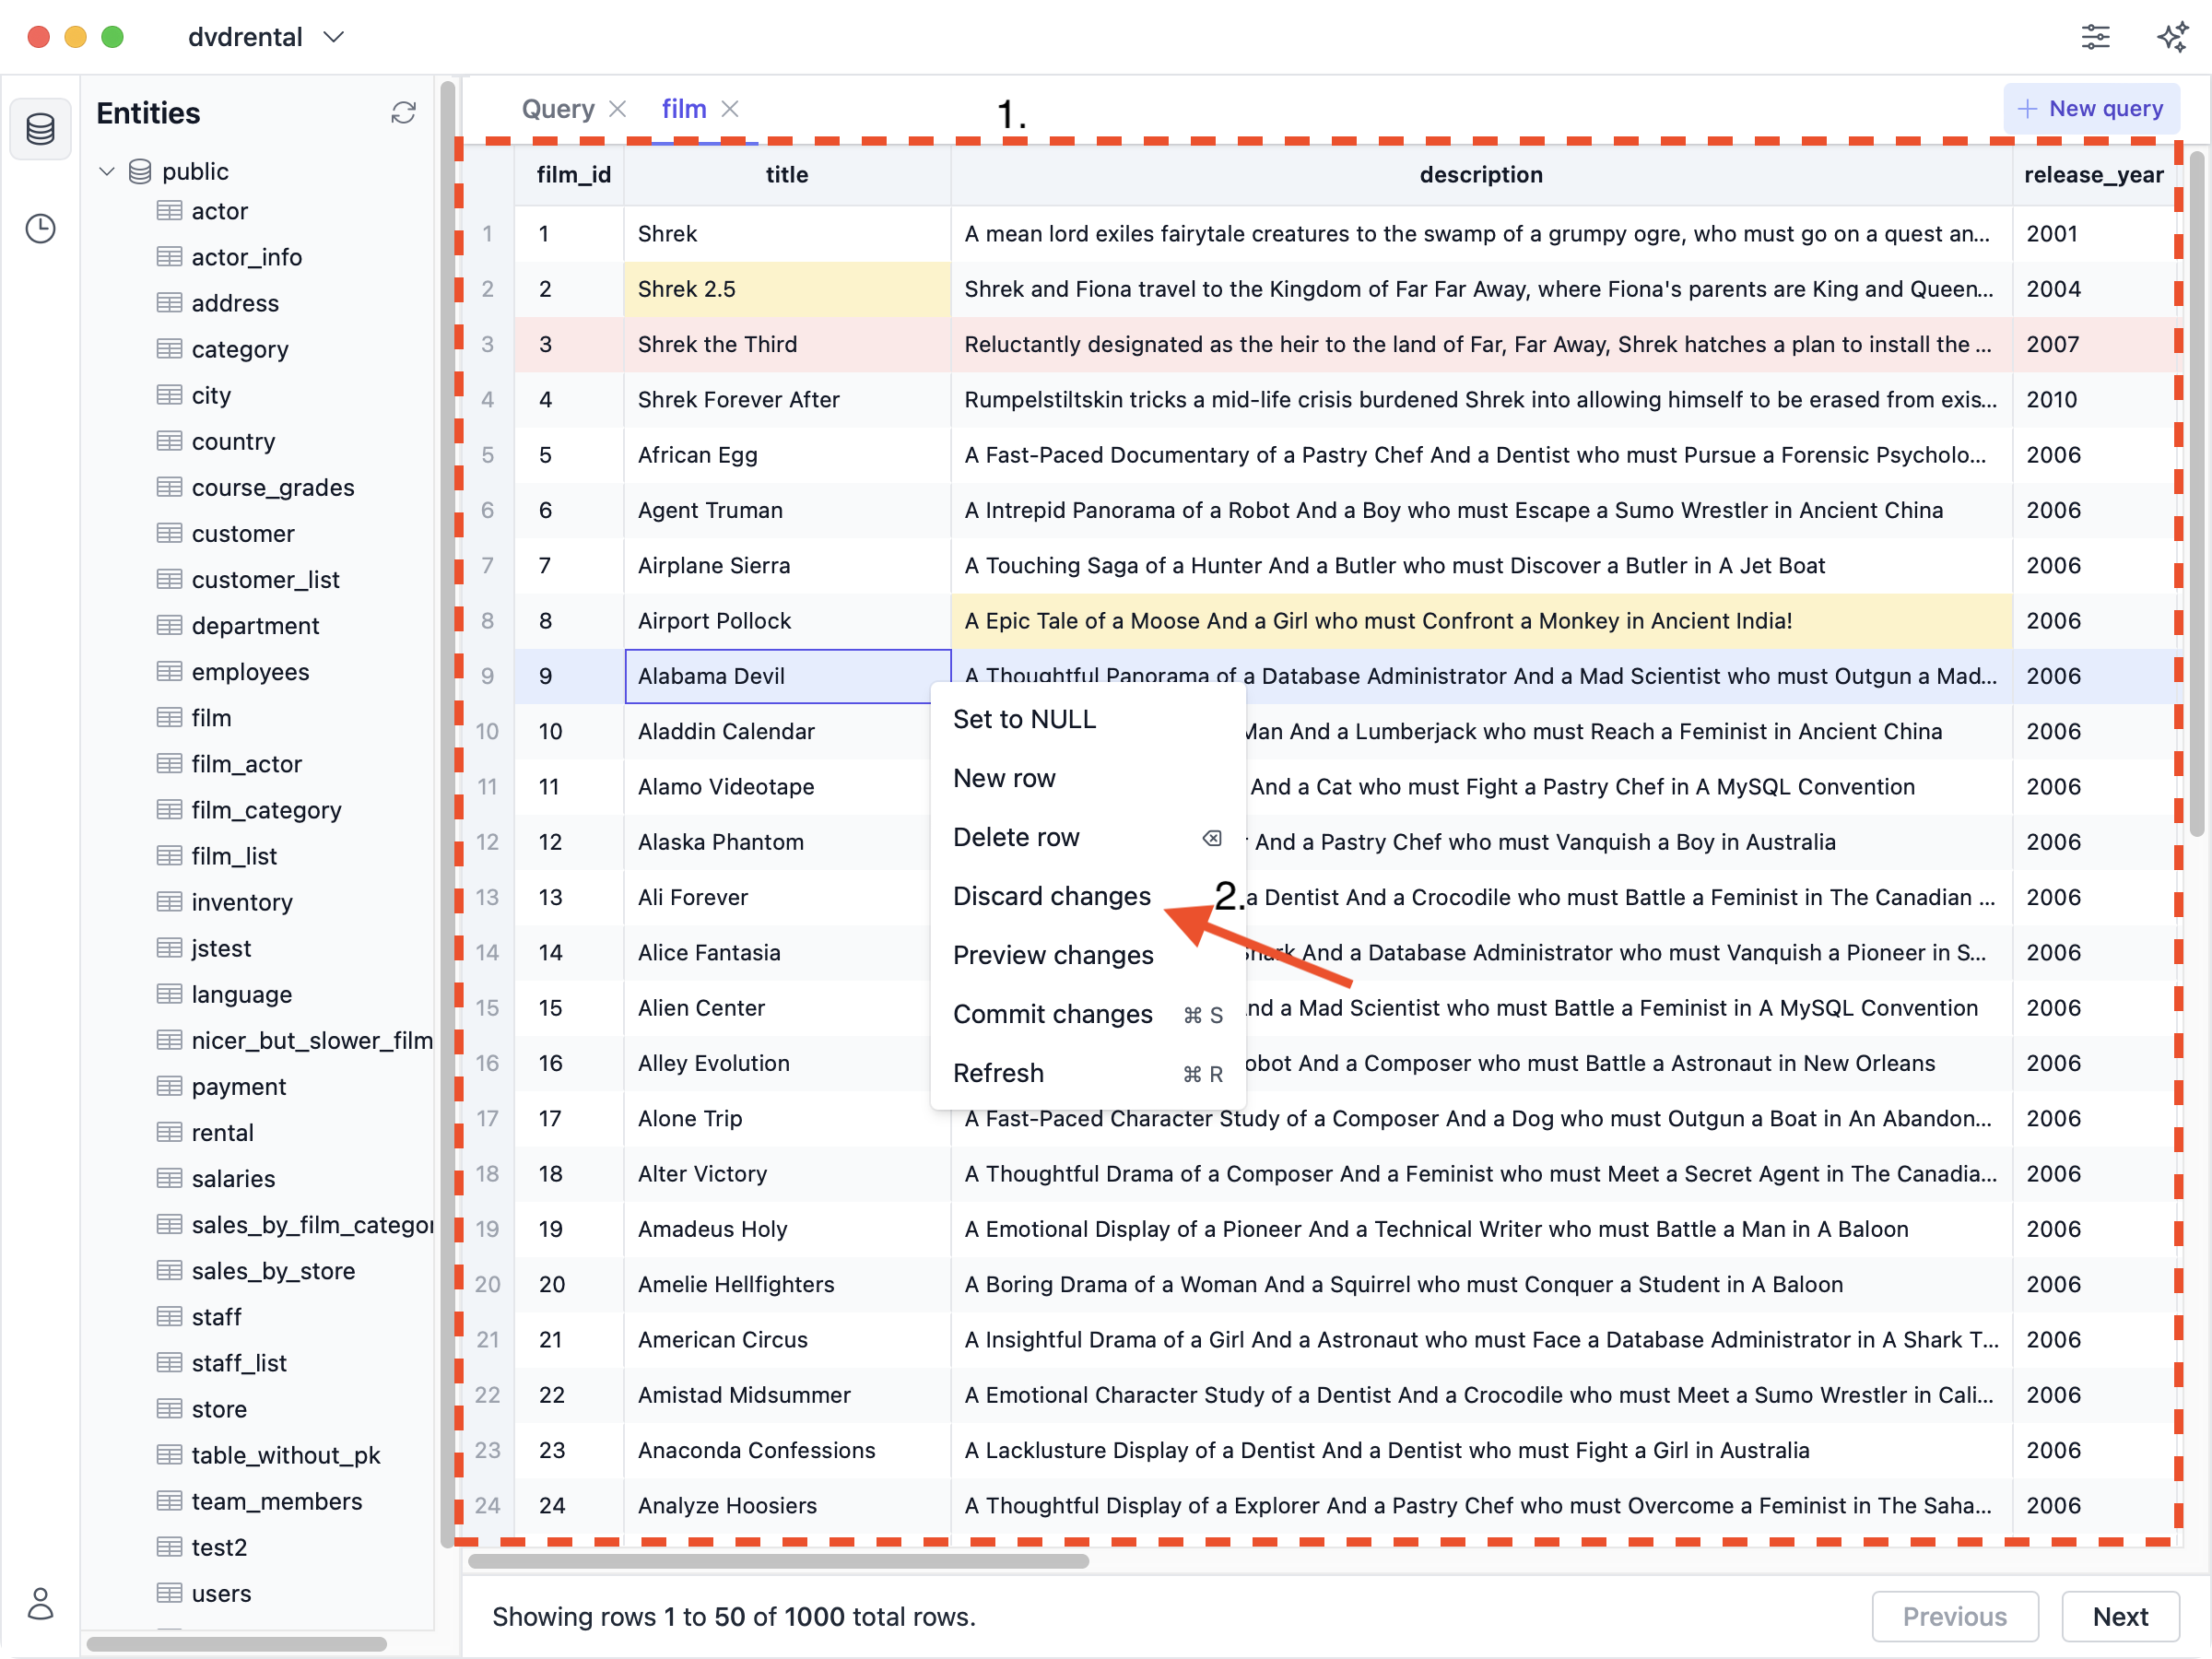
Delete
To mark a row for deletion:
- Right-click the row
- Click the “Delete row” button
Alternatively, select a row by left-clicking it, then use the ⌫ (backspace) shortcut.
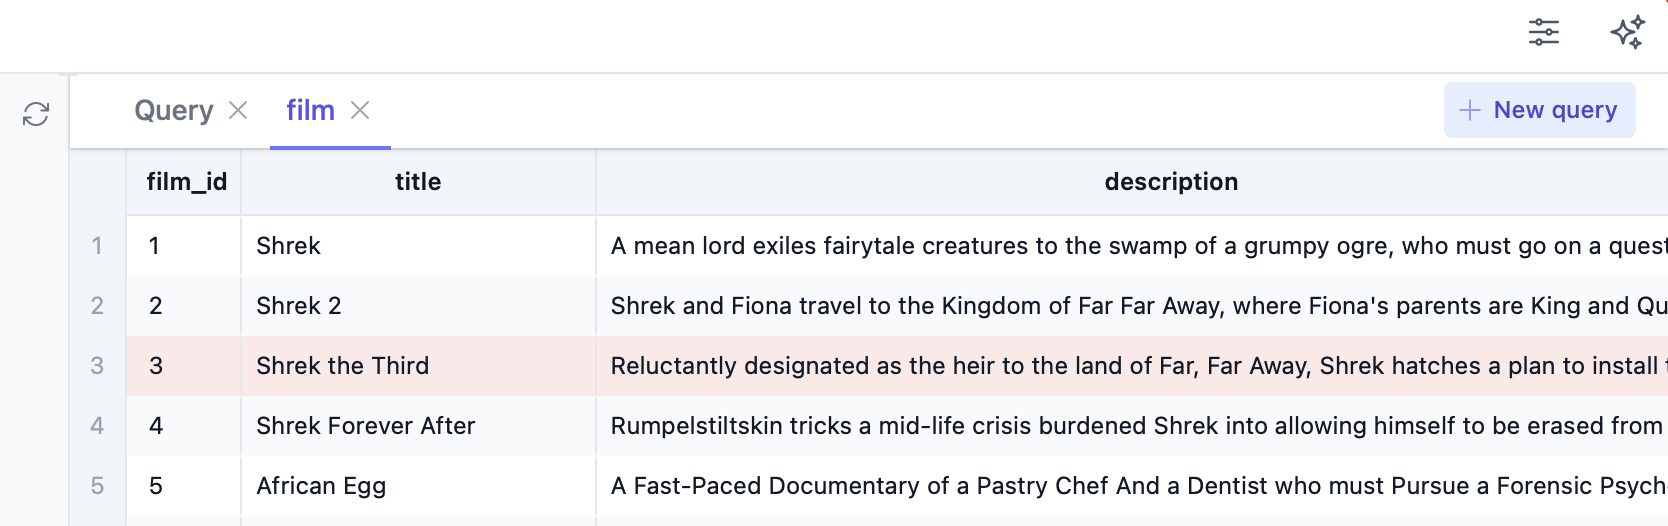
Rows marked for deletion are highlighted in red while the change is not committed:
Commit
Inserts, updates, and deletions are not executed immediately. You have to explicitly commit them to the database. To do so, either use the ⌘S shortcut or:
- Right-click anywhere in the table view
- Click the “Commit” button
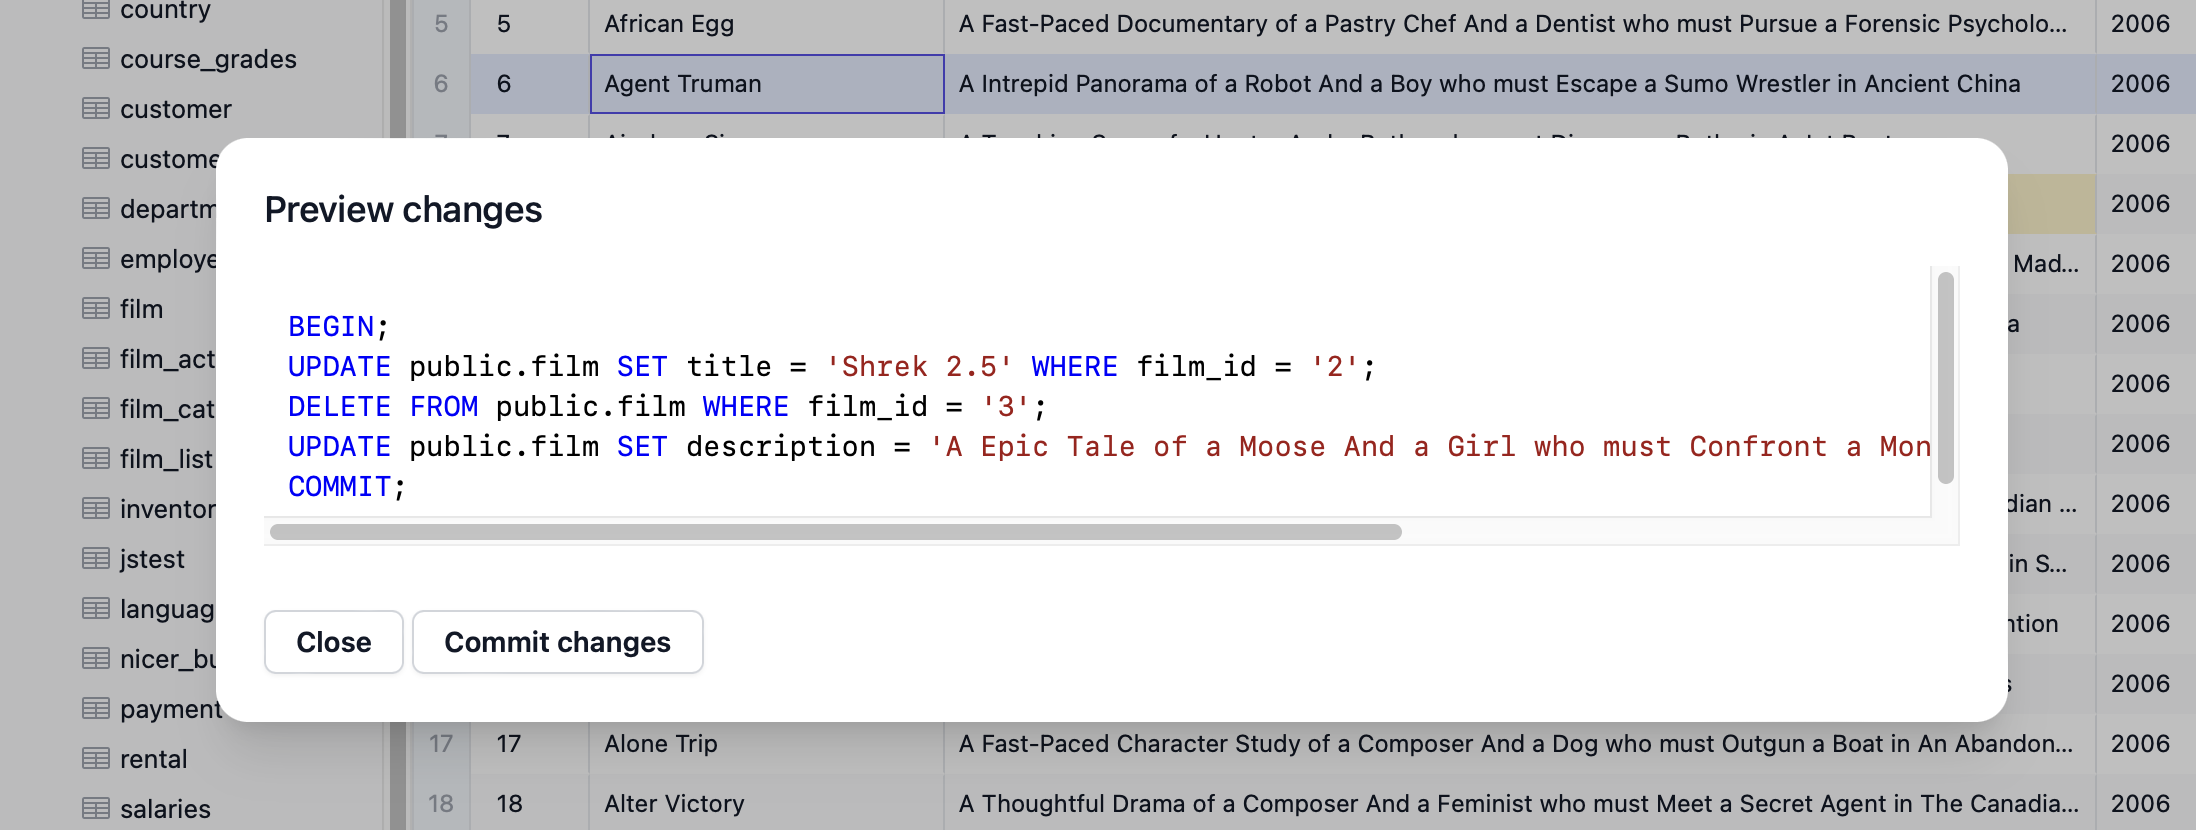
Preview changes
To preview the exact SQL statements that will be executed when you commit changes:
- Right-click anywhere in the table view
- Click the “Preview changes” button

You will then see an overlay like this:
Discard changes
To discard all uncommitted changes of the selected database connection:
- Right-click anywhere in the table view
- Click the “Discard changes” button